Concrete finishes refer to surface treatments applied to concrete to achieve desired texture, appearance, and durability. Common types include polished, stained, stamped, exposed aggregate, and broom finishes. Each finish offers unique aesthetics and functional benefits depending on the application, such as floors, walls, or outdoor surfaces.
Introduction to Concrete Finishes
Concrete finishes enhance the visual appeal and strength of concrete surfaces. Popular options include polished concrete, stamped concrete, exposed aggregate, broom finishes and stained concrete. Each type suits specific applications like indoor floors, pool decks and outdoor pathways. Concrete finishes improve durability, produce slip-resistant surfaces and uncover coarse decorative aggregate for aesthetic variety.
Key Uses of Concrete Finishes:
- Polished concrete flooring for high-traffic indoor spaces.
- Stamped concrete finish for decorative outdoor spaces.
- Exposed aggregate concrete for non-slip surfaces like swimming pools and pathways.
- Broom finish concrete surface for slip resistance in outdoor areas.
- Stained concrete for richly colored natural stones look in decorative concrete projects.
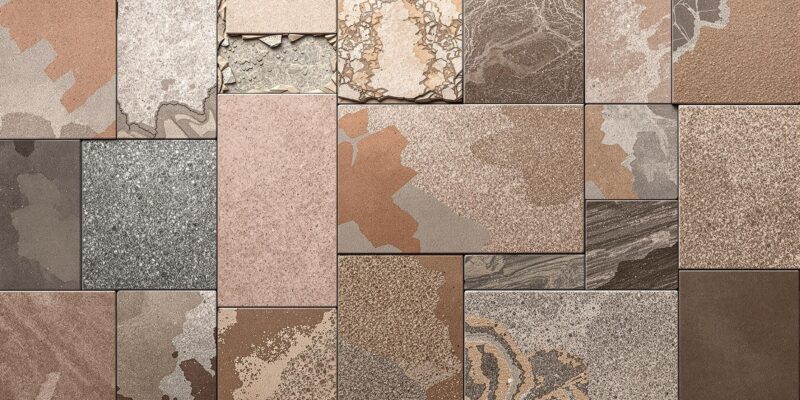
Types of Concrete Finishes
Concrete finishes vary in texture, appearance, and application. Below is a table of indoor concrete finishes, their descriptions, and best uses.
| Finish Type | Description | Best Used For |
|---|---|---|
| Polished Concrete | Glossy, smooth surface created by grinding and buffing | Living areas, kitchens |
| Honed Concrete | Less glossy than polished, with a matte finish | Bathrooms, laundries |
| Stamped Concrete | Patterns or textures imprinted into wet concrete | Decorative indoor spaces |
| Stained Concrete | Concrete colored or stained to match color schemes | Various indoor applications |
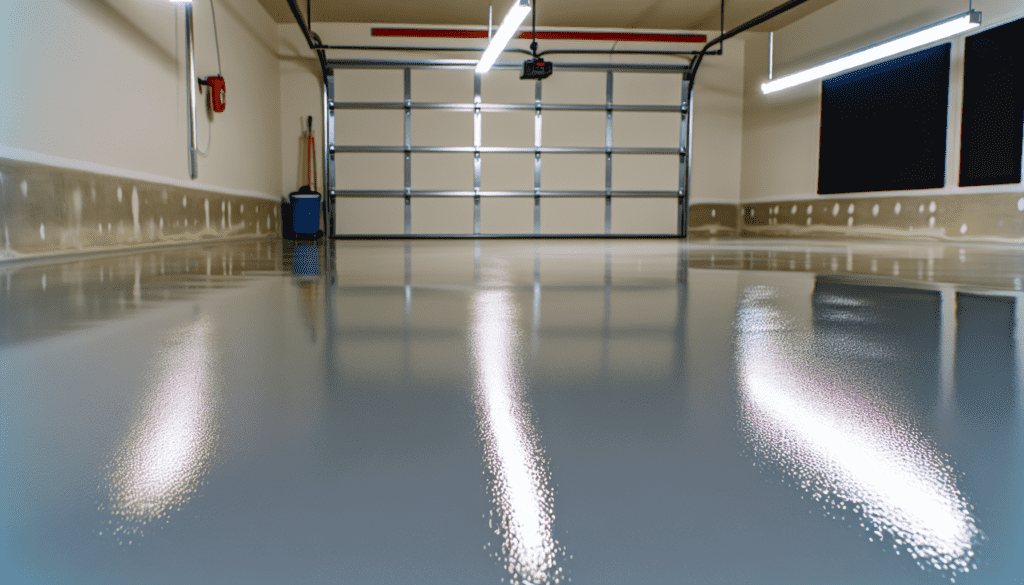
| Epoxy Finish | Durable, impact-resistant coating | High-traffic areas, commercial spaces |
| Galaxy Metallic | Creates unique, multi-tone patterns | Offices, restaurants, showrooms |
| Swirl Finish | Uniformly overlapping circular pattern | Decorative indoor applications |
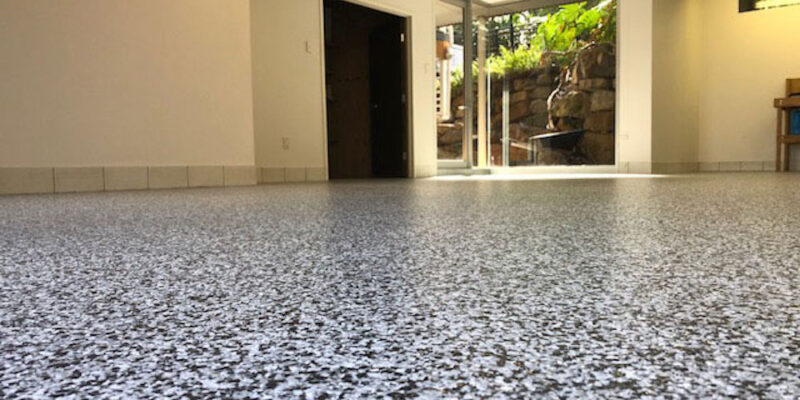
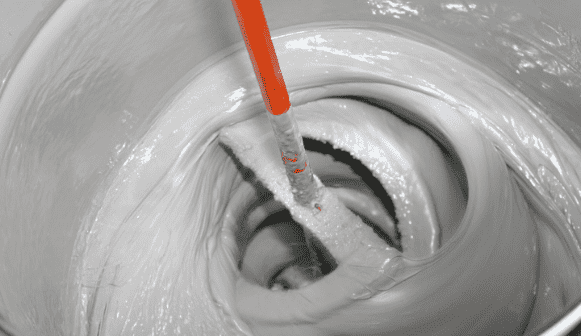
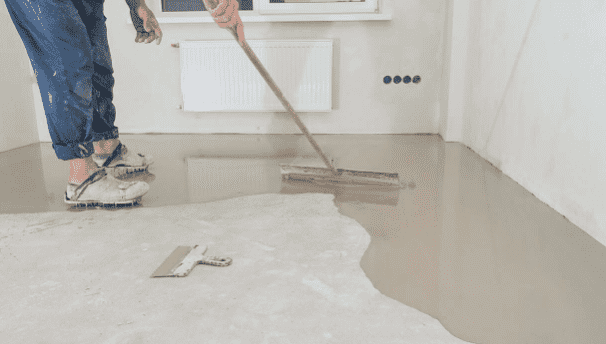
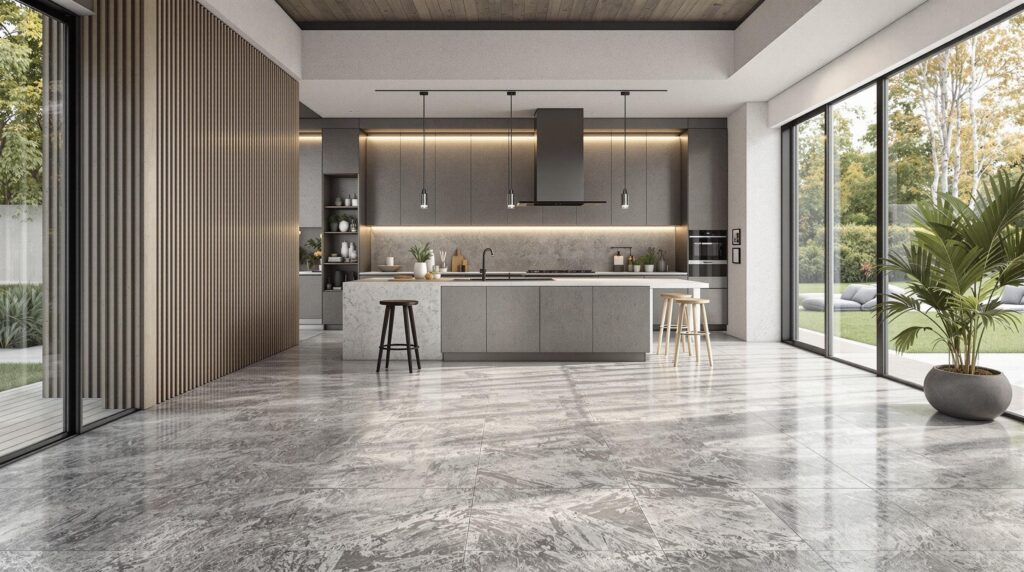
Polished Concrete
Polished concrete flooring has a glossy finish achieved by grinding with diamond abrasives and applying chemical hardeners. It’s very durable, easy to maintain and perfect for indoor floors in homes and commercial spaces.
Stamped Concrete
Stamped concrete finishes involve pressing patterns like natural stone or brick into wet concrete. This decorative finish is often used for outdoor spaces, pool decks and flat walking paths.
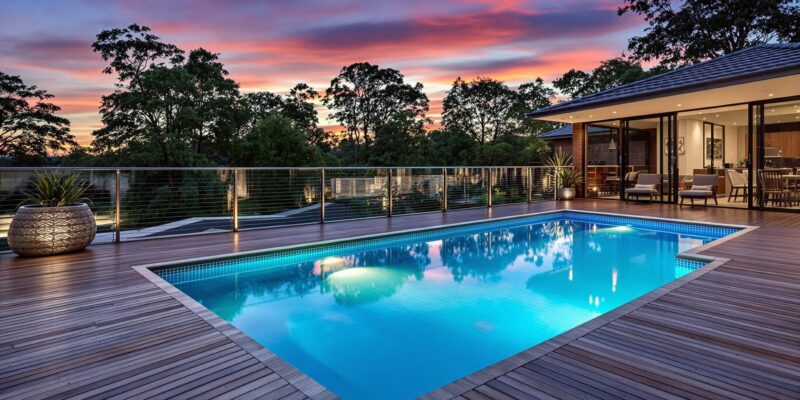
Exposed Aggregate Concrete
This finish reveals coarse decorative aggregate by washing away the top layer of freshly poured concrete. It produces slip-resistant surfaces, perfect for outdoor areas like pool decks and pathways typically broomed for added grip.
Broom Finish
Broom finish concrete surfaces are created by dragging a damp broom across wet concrete. This method provides a non-slip surface, making it suitable for sidewalks, driveways and shed floors with high foot traffic.
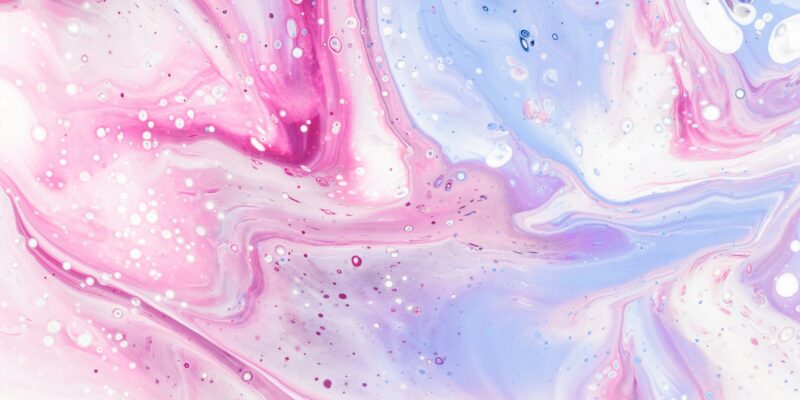
Stained Concrete
Stained concrete surfaces use acid wash or water-based stains to achieve richly colored natural stones appearance. This decorative concrete finish is popular in both indoor and outdoor projects.
Benefits of Concrete Finishes
Concrete finishes provide multiple benefits for construction and design projects:
- Durability: Polished concrete and epoxy finishes create extremely durable surfaces that withstand heavy foot traffic and impact.
- Aesthetic Variety: Options like stamped concrete and stained finishes mimic natural stone, brick and fine or medium textures.
- Slip Resistance: Broom finish concrete surfaces and exposed aggregate finishes offer non-slip surfaces for outdoor areas like swimming pools and pathways.
- Low Maintenance: Polished concrete flooring requires minimal upkeep, only regular cleaning and occasional resealing, compared to other finished like painted concrete floors.
- Cost-Effective: Concrete finishes provide a long-lasting, affordable solution compared to natural stone or tile surfaces.
Data-backed Benefits:
- Polished concrete floors can reduce maintenance costs by up to 60% compared to other flooring options (source: Concrete Network).
- Stamped concrete finishes cost 25-50% less than natural stone paving (source: HomeAdvisor).
- Exposed aggregate concrete increases slip resistance by 30% over plain concrete, making it ideal for pool decks and outdoor spaces.
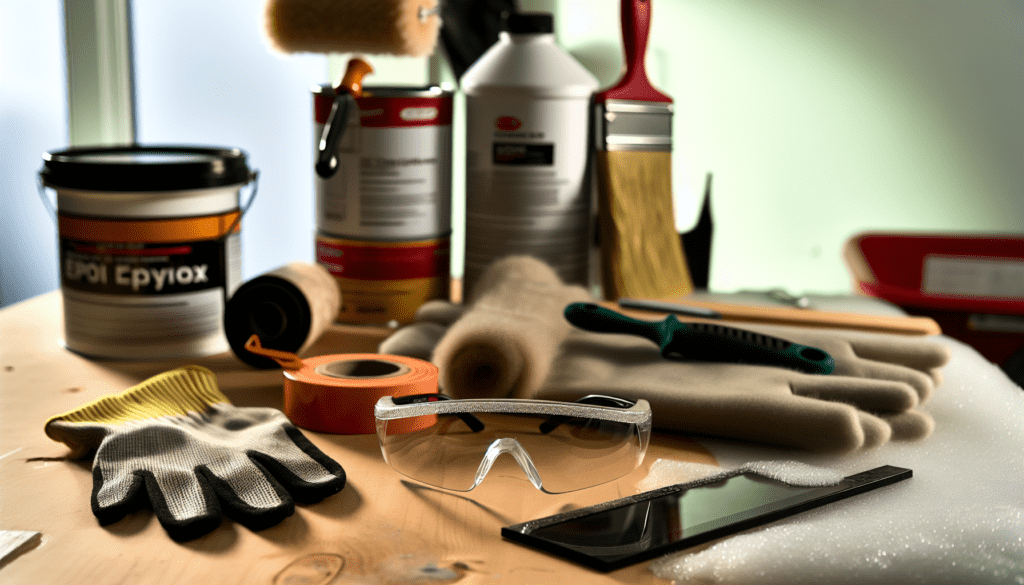
Tools and Materials for Concrete Finishing
Concrete finishing requires specialized tools for each technique. Essential tools include:
- Trowels (steel, magnesium) for creating smooth finishes.
- Concrete mixers for preparing consistent concrete mix.
- Stamps and molds for imprinting patterns in wet concrete.
- Power trowels and grinding discs for polishing processes.
- Concrete sealers to protect finished products and enhance durability.
- Diamond abrasives for polishing concrete floors to a glossy finish.
- Rock salt for creating salt finish concrete surfaces by embedding coarse rock salt crystals into the surface.
- Brooms and brushes for producing slip-resistant surfaces.
Example:
To achieve a polished concrete finish, use diamond abrasives for grinding, followed by chemical hardeners for a durable surface.
Techniques for Concrete Finishing
Concrete finishing techniques delivers the final product. Here are some techniques:
- Trowel Finish: Smooth finish by troweling over the surface of fresh concrete.
- Stamped Concrete Finish: Imprint patterns with molds while the concrete is wet.
- Exposed Aggregate Finish: Wash away the top layer to reveal coarse decorative aggregate.
- Broom Finish: Drag a damp broom for slip resistance.
- Salt Finish Concrete Surface: Embed coarse rock salt crystals, then wash them away to leave a textured surface.
- Polishing Process: Grind concrete slabs with diamond abrasives and apply chemical hardeners for a polished finish.
Steps for Polished Concrete Flooring:
- Grind the concrete floor with a diamond abrasive grinding disc.
- Apply chemical hardeners to the cement matrix.
- Grind again to desired finish.
- Seal the surface for added durability and slip resistance.
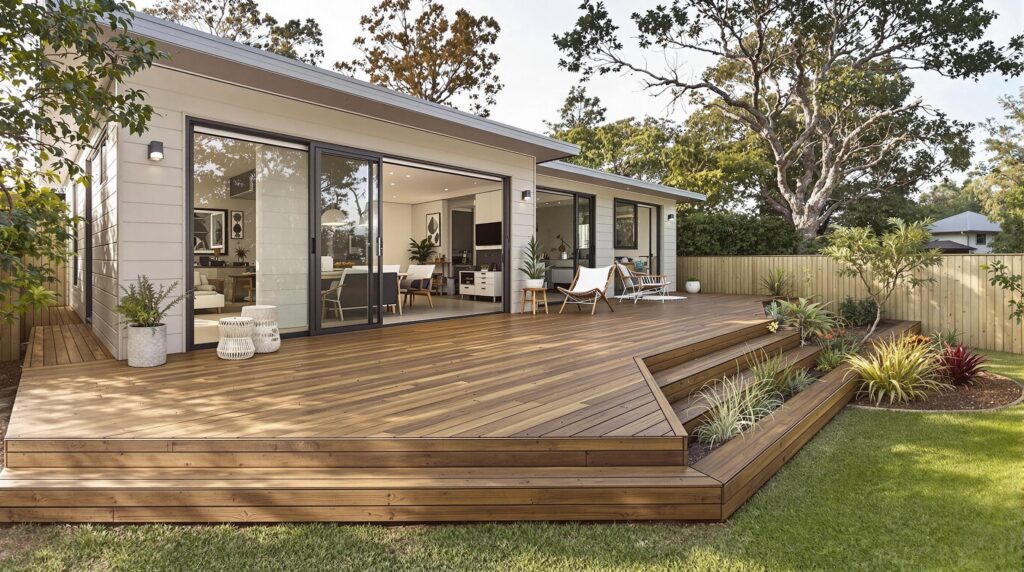
Applications of Concrete Finishes
Concrete finishes can be used in:
- Indoor Floors: Polished concrete flooring in living rooms, kitchens and offices.
- Outdoor Areas: Exposed aggregate and broom finish concrete for pool decks, driveways and pathways.
- Decorative Concrete: Stamped concrete and stenciled concrete for patios and entryways.
- Commercial Spaces: Epoxy-coated concrete floors in warehouses and retail stores.
- Swimming Pools: Slip resistant surfaces using exposed aggregate or broom finishes.
Maintenance of Concrete Finishes
Proper maintenance will ensure the longevity of concrete finishes. Here’s how:
- Regular Cleaning: Use a damp mop or broom to remove dust and debris.
- Sealing Concrete Surfaces: Reapply concrete sealer every 2-3 years.
- Repairing Damages: Patch cracks or chips with the right concrete mix.
- Polishing: Buff polished concrete floors periodically with diamond abrasives.
- Preventive Measures: Avoid harsh chemicals and use protective pads under heavy furniture.
Common Questions
Below are common questions we get asked about this topic.
Can indoor concrete floors be heated?
Yes, indoor concrete floors can be heated. Concrete’s thermal mass retains heat from radiant floor heating systems and distributes it across the living space.
How does indoor concrete flooring affect acoustics?
Concrete floors reflect sound, causing echoes. Use area rugs, acoustic panels or sound-dampening treatments to improve room acoustics.
Can I change the color of an existing indoor concrete floor?
Yes, stain, dye or apply a pigmented overlay depending on the floor and desired result.
How does indoor concrete flooring affect indoor air?
Sealed concrete floors keep dust, allergens and VOCs out making them perfect for allergy sufferers.