How to waterproof a bathroom is an important step in any bathroom renovation to prevent water damage, mold growth, and structural issues.
Failing to waterproof correctly can lead to expensive repairs and safety hazards. In this article we’ll explore the process of waterproofing your bathroom, discuss the necessary materials, and highlight areas that need special attention to ensure your bathroom remains water-resistant for years to come.
What Is Bathroom Waterproofing?
Bathroom waterproofing is the process of applying waterproof membranes and sealants to protect wet areas, such as the shower floor, walls, and entire bathroom floor, from water penetration. To effectively waterproof a bathroom, these methods form a barrier that prevents water from seeping into surfaces like tiles, concrete, and grout, protecting against mildew growth and structural damage.
Using the correct waterproofing product is important to ensure proper protection in areas like the shower walls and bathroom floor, where the most water exposure occurs. Waterproofing agents like liquid membranes or sheet membranes are commonly applied to these surfaces, providing a durable and long-lasting solution.

Why Bathroom Waterproofing is Necessary
Bathroom waterproofing is an important aspect of maintaining a safe and healthy living space. Water damage can lead to a range of issues, including structural decay, mold and mildew growth, and pest infestations. Inadequate bathroom waterproofing can also compromise the integrity of the building, leading to costly repairs and even safety hazards.
By waterproofing your bathroom, you can prevent water from seeping into the walls and floors, reducing the risk of damage and ensuring a safe and healthy environment for you and your family.
Key Areas in the Bathroom That Need Waterproofing
Proper bathroom waterproofing, including waterproofing a bathroom, targets wet areas such as the shower area, bathroom walls, and whole bathroom floor. Each of these areas is prone to water penetration and water damage if not properly sealed. In an average-sized bathroom, it is important to waterproof both the floor and walls thoroughly to meet Australian Standards.
Critical Areas Include: Shower Floor
- Shower area: The shower floor and walls are the most vulnerable to water damage due to constant exposure to moisture. A wet room design, which lacks a separate shower enclosure, necessitates comprehensive waterproofing for the entire bathroom floor and walls to prevent water damage, highlighting its popularity in modern renovations and the importance of adhering to Australian standards.
- Bathroom floor: Ensuring the entire floor is waterproofed prevents leaks from reaching the underlying structure, especially in a ground floor installation.
- Bathtub edges: Water often seeps into the gaps around bathtubs if not properly sealed.
- Plumbing fixtures: Leaks can occur around faucets, toilets, and drainage systems if not adequately waterproofed.
Materials Used for Bathroom Waterproofing
Getting your bathroom waterproofed is important for a long-lasting waterproofing job. The two main waterproofing methods are the use of liquid membranes and sheet membranes. Both have their advantages and can be used in combination, depending on the bathroom type and location.
Types of Waterproofing Membrane
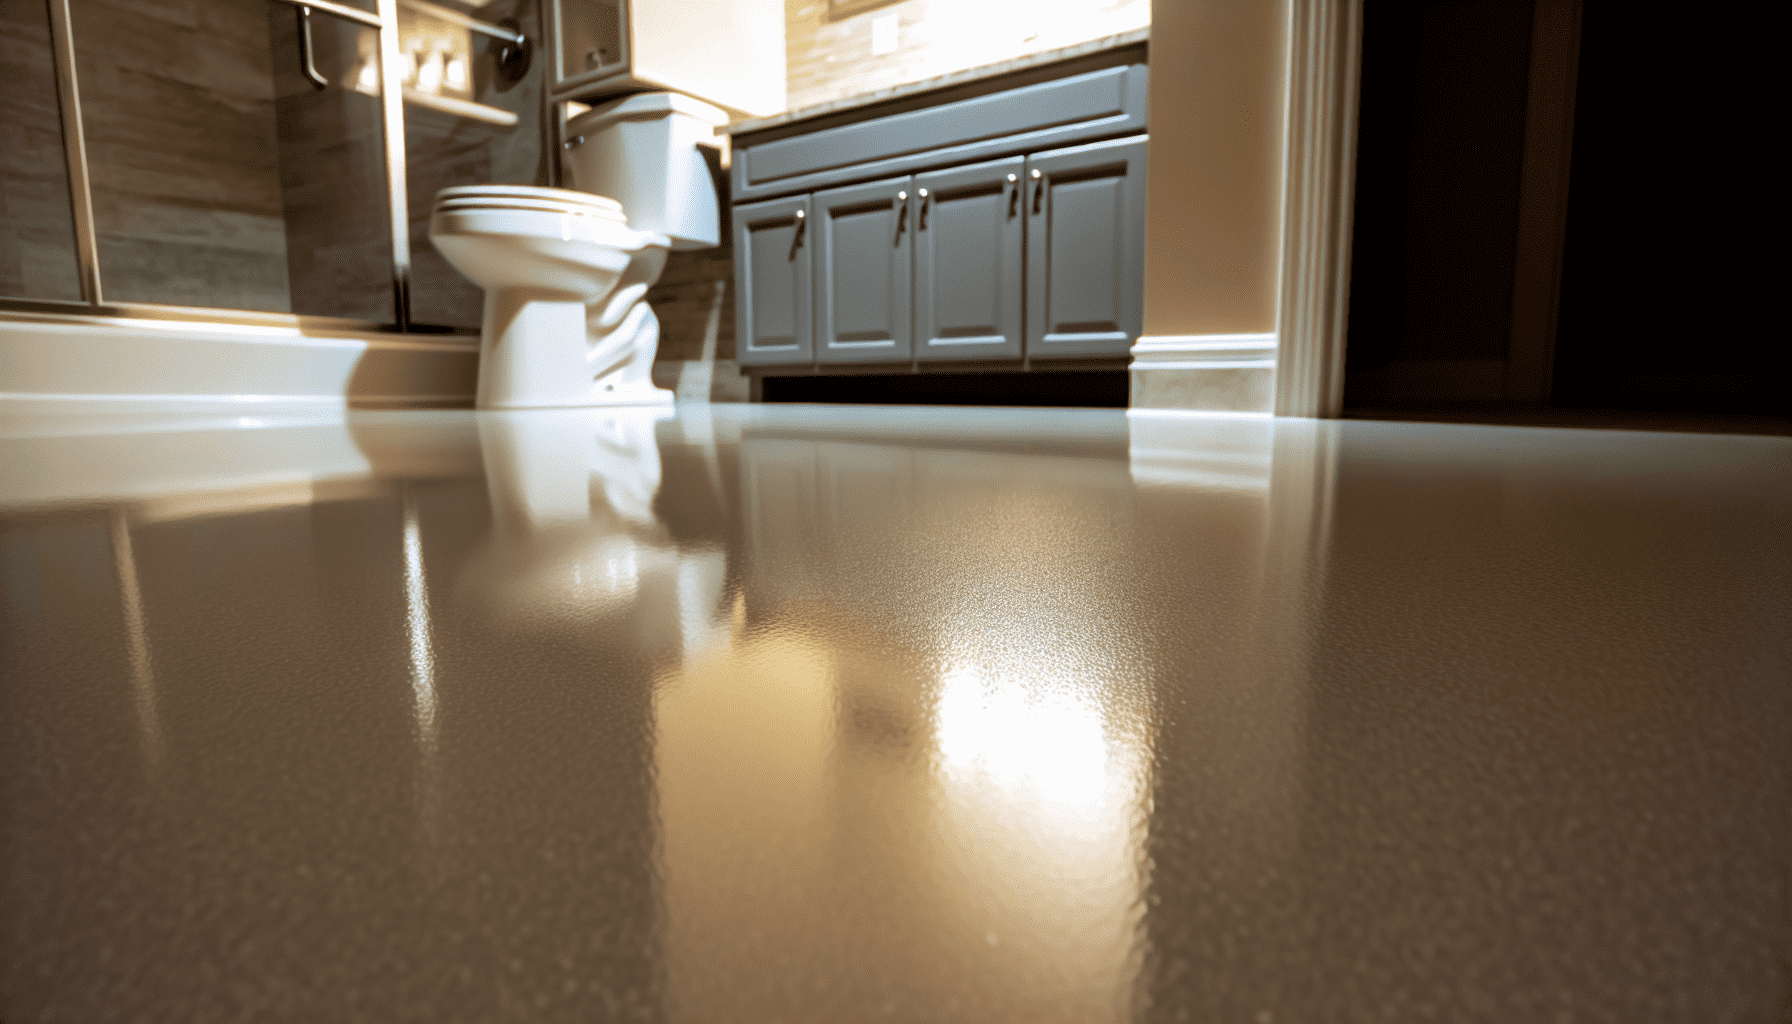
- Liquid membranes: These are applied with a paint roller or brush to create a seamless barrier over the surface, such as an epoxy coating. A first coat followed by a second coat ensures complete coverage.
- Sheet membranes: Most sheet membranes are pre-formed and applied to the bathroom floor and walls, offering high durability. These membranes are often used in areas requiring extra reinforcement.
For example, liquid membranes are ideal for shower floors, while sheet membranes provide better coverage for larger areas like the whole bathroom floor.

The Bathroom Waterproofing Process
Waterproofing a bathroom involves several key steps to ensure complete protection from water damage. To prevent moisture penetration, every layer of the bathroom must be properly sealed.
Step-by-Step Waterproofing:
- Surface preparation: Clean and prime all surfaces, including the bathroom floor, shower walls, and shower floor, to ensure a strong bond for the waterproofing product. Proper surface preparation is crucial when waterproofing a bathroom to prevent future water damage.
- Application of waterproof membranes: Apply a liquid membrane or sheet membrane to the bathroom’s surfaces. Ensure proper overlap of sheets if using sheet membranes.
- Sealing: Use silicone sealant around plumbing fixtures, joints, and the edges of the bathroom walls and floor.
- Testing for leaks: After waterproofing, perform a water leak test to ensure no gaps or weaknesses are present.
This process ensures that all areas of the bathroom, especially wet areas like the shower, are adequately protected. Proper waterproofing a bathroom is essential to comply with Australian standards and avoid costly future renovations due to water damage.
Common Bathroom Waterproofing Mistakes
Incorrect waterproofing can lead to significant water damage and waterproofing issues. Failing to follow building code requirements or skipping steps can result in leaks, mildew growth, and structural damage.
Avoid These Mistakes:
- Inadequate surface preparation: Skipping cleaning and priming leads to weak adhesion of the waterproofing agent, increasing the risk of water penetration.
- Incorrect material use: Using the wrong waterproof membrane or sealant for the surface type can result in failure over time.
- Inconsistent application: Uneven or insufficient coating of liquid membranes can leave gaps in protection, allowing moisture to seep through.
- Skipping corners and joints: Corners, joints, and plumbing fixtures are the most prone to leakage and must be sealed correctly with silicone or additional waterproofing agents.
Ensuring the whole bathroom floor and other wet areas are completely sealed is crucial for long-term protection.
Signs That Your Bathroom Waterproofing Has Failed
Knowing when your bathroom waterproofing has failed is crucial to avoiding further structural damage and health risks. Getting your bathroom waterproofed can prevent serious water damage. Common signs of waterproofing issues include visible water damage, mold growth, and cracks in the tiles.
Signs of Waterproofing Failure:
- Water stains on walls or floors.
- Mold or mildew growth along the edges of tiles and around plumbing fixtures.
- Peeling paint or cracked tiles in the shower area.
- Swollen walls or floors, particularly in older or improperly waterproofed bathrooms.
- In a wet room, comprehensive waterproofing is crucial to prevent water damage to the entire bathroom floor and walls.
Immediate action is necessary to avoid worsening the damage. Hiring a licensed professional to assess and repair the waterproofing job can prevent costly renovations.
Maintenance and Upkeep
Ensuring Longevity:
To ensure the longevity of your bathroom waterproofing, regular maintenance and upkeep are essential. Here are some tips to help you keep your bathroom waterproofing in good condition:
- Regularly inspect the bathroom for signs of water damage or leaks.
- Check the condition of the waterproofing membrane and replace it if necessary.
- Ensure that the bathroom is well-ventilated to prevent moisture buildup.
- Avoid using harsh chemicals or abrasive cleaners that can damage the waterproofing membrane.
- Regularly clean the bathroom, paying particular attention to areas around the shower and bathtub.
By following these tips, you can help extend the life of your bathroom waterproofing and prevent costly repairs.
Troubleshooting and Repair
Addressing Issues:
Despite regular maintenance and upkeep, issues can still arise with your bathroom waterproofing. Here are some common problems and solutions:
- Leaks: If you notice water leaking from the shower or bathtub, check the condition of the waterproofing membrane and replace it if necessary. Ensure that the area is properly sealed and caulked.
- Cracks: If you notice cracks in the walls or floors, check for signs of water damage and address the issue promptly. Apply a waterproofing agent to the affected area and seal with a liquid membrane.
- Mold and mildew: If you notice mold or mildew growth in the bathroom, ensure that the area is well-ventilated and clean the affected area with a mild detergent. Apply a waterproofing agent to the affected area and seal with a liquid membrane.
By addressing issues promptly and taking preventative measures, you can help ensure the longevity of your bathroom waterproofing and prevent costly repairs.
Professional vs. DIY Bathroom Waterproofing
When deciding how to waterproof your bathroom, consider the complexity of the job and the potential risks of poor waterproofing. In areas like South Australia & New South Wales, waterproofing must meet specific minimum requirements set by building codes, making professional waterproofing essential for legal and safety reasons.
Pros and Cons:
- DIY job: A DIY waterproofing job may save on labor costs, but risks include improper sealing and failure to meet the required Australian Standards.
- Professional job: Hiring a skilled tradesperson or licensed professional ensures that all aspects of the job are completed according to regulations, with warranties provided on the work.
While a DIY job might seem more cost-effective upfront, professional waterproofing offers greater long-term protection and compliance with local laws.
Final Points
Bathroom waterproofing is essential for preventing water damage, mold growth, and structural issues. Properly waterproofing the shower area, bathroom floor, and bathroom walls with waterproof membranes like liquid membranes or sheet membranes protects your home from costly repairs in the future. Avoid common mistakes, understand when to call a licensed professional, and ensure your waterproofing meets local building codes to keep your bathroom in top condition.
Popular Questions
Below are common questions we’re asked about waterproofing a bathroom.
How long does bathroom waterproofing last?
A properly installed waterproofing membrane can last up to 10 years or more, depending on the quality of materials used and the conditions of the bathroom. Regular maintenance, like re-sealing joints and checking for signs of water damage, helps extend the lifespan.
Can I waterproof my bathroom myself?
Yes, DIY bathroom waterproofing is possible, but it requires strict adherence to the process and use of the correct waterproofing products. However, in places like New South Wales, bathroom waterproofing must meet building code standards, and hiring a licensed professional may be necessary to ensure compliance.
What are the signs of failed waterproofing in a bathroom?
Signs of failed bathroom waterproofing include visible water stains, mold growth, peeling paint, and cracks in tiles or grout. Swelling walls or floor damage also indicate water penetration and the need for immediate repair.
What is the most effective waterproofing method for bathrooms?
The most effective method combines liquid membranes for shower floors and walls, and sheet membranes for the entire bathroom floor. These materials offer durable, long-lasting protection against moisture and water damage in high-risk areas like the shower and wet rooms.

