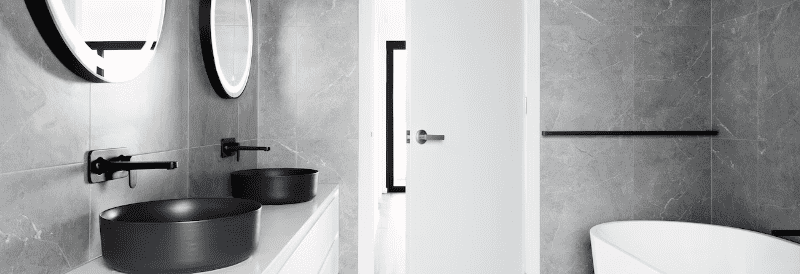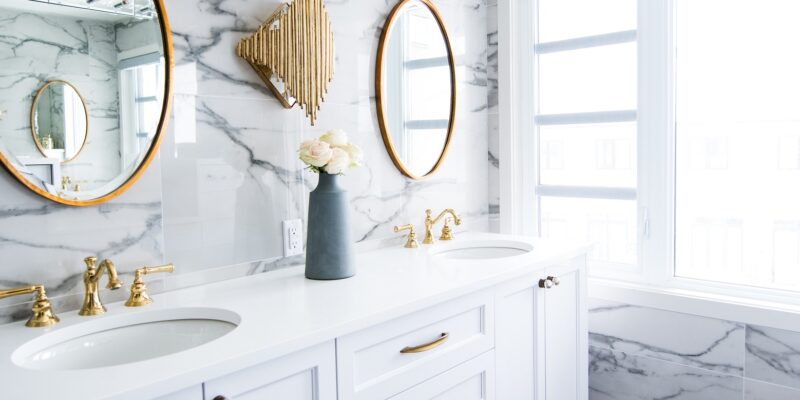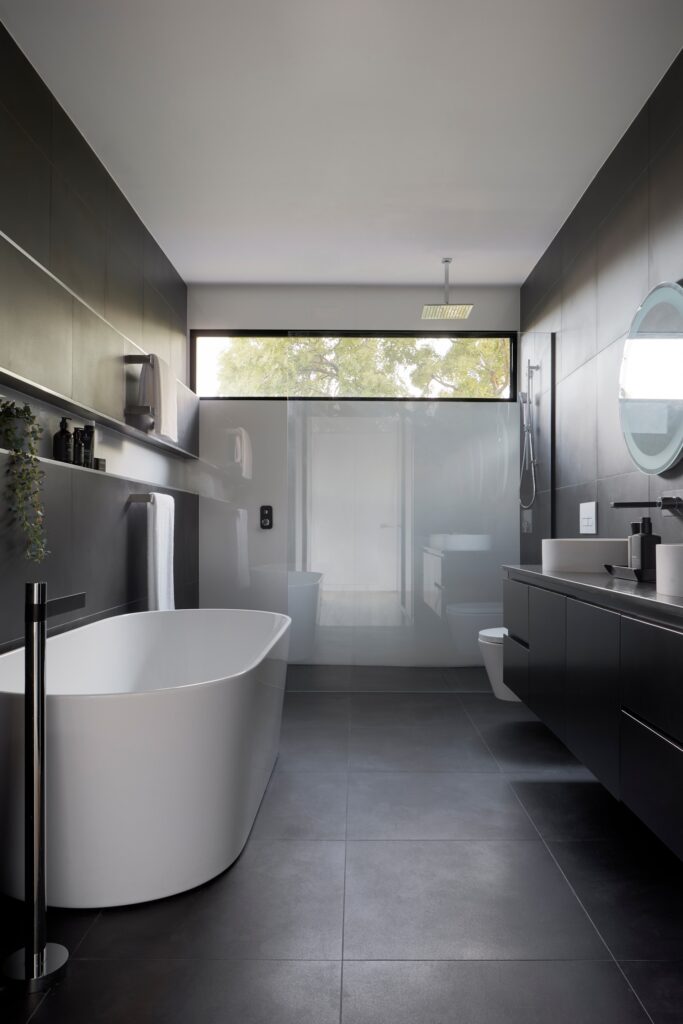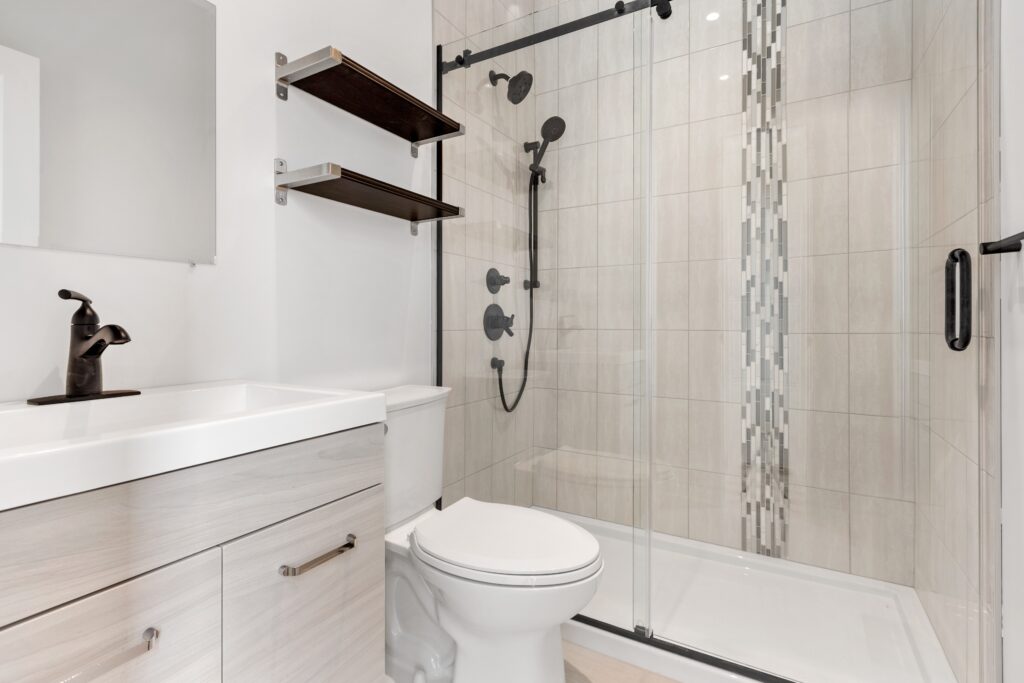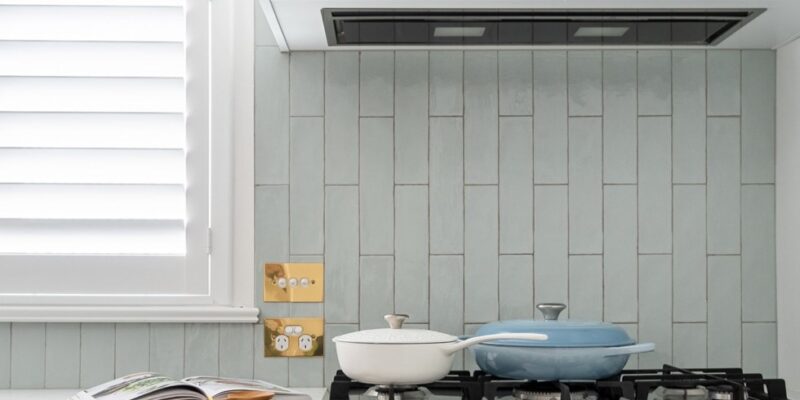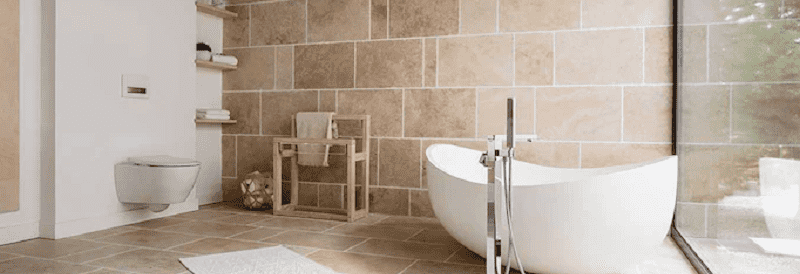
As a bathroom renovation expert, I’m here to guide you on how to start on that much-needed makeover for your bathroom.
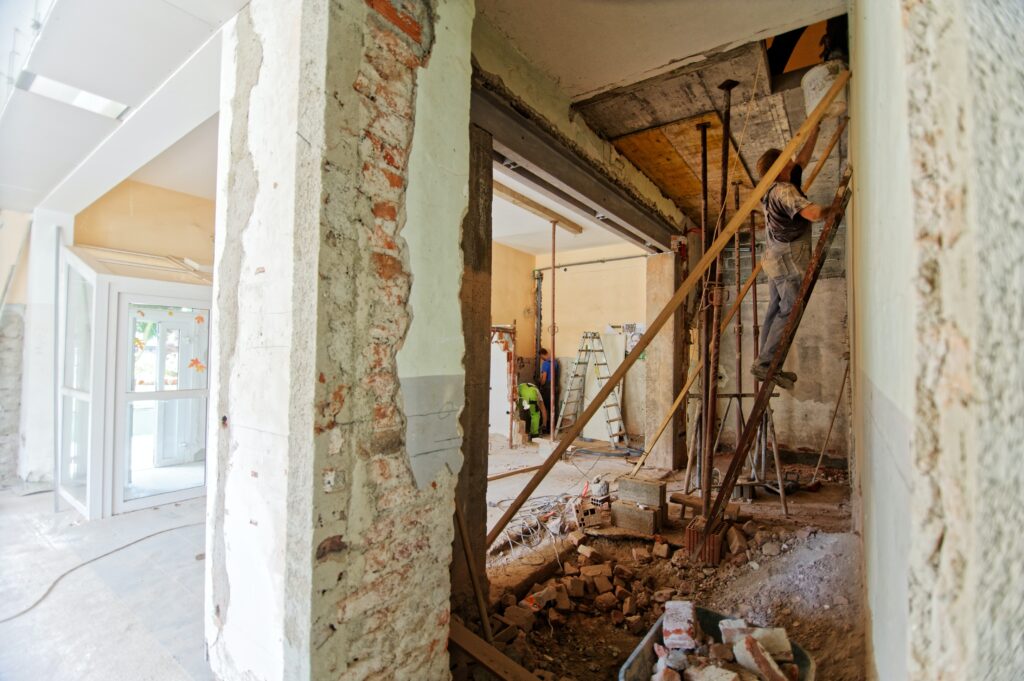
Beginning with the removal of the bathroom tiles. This is an important part of the renovation process, as it involves safely getting rid of the old tiles, preparing the wall for the new ones, and ensuring your fixtures remain intact.
While it might seem complex, our detailed, step-by-step instructions will make you feel like an expert in no time.
BUT….if you’d rather let us take care of it for you for your home in Adelaide, make sure you get in touch.
So, grab your safety goggles and let’s get you started on this renovation journey!
Points To Note
- You can complete the job with hand tools ie a chisel and hammer. You might however look at hiring a tile removal machine for a larger area.
- It’s important to stay safe. Removing tiles is relatively simple and low risk, but with any construction job, safety is important.
- You are now ready to prepare your wall for the installation of new tiles and transform your bathroom into the ideal space you’ve always envisioned. Preparation is key
- Keep this guide handy for your future tile removal projects.
Also see the Bunnings video below on how to remove tiles:
Understanding the Basics of Tile Removal
As a bathroom renovation expert, I can provide insights into the essentials of bathroom tile removal.
It’s important to grasp the fundamentals, starting with the significance of safety precautions and the necessity of the correct tools.
This guideline will detail the procedures for removing bathroom tiles efficiently.
Initial steps involve donning protective equipment, such as safety goggles and work gloves.
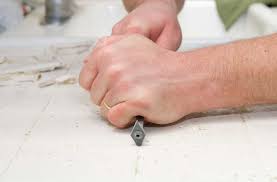
The tools required for the tile removal are a chisel and hammer.
Begin the process by loosening the old adhesive behind each tile, then use the chisel to carefully remove the tiles from the wall.
Patience is important during wall tile removal; avoid rushing or exerting excessive force to pry the tiles off.
Once the tiles are removed, it’s essential to clean the residual adhesive to prepare a clean, ready-for-tile surface.
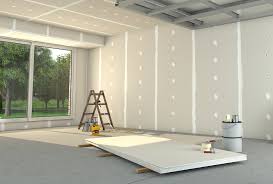
Preparing Your Bathroom for the Process
This DIY project demands the correct tools and a well-organized approach. Start by decluttering the area; this means taking out all items such as shower curtains and rugs.
Here’s a handy checklist to follow:
| Task | Tools | Importance |
|---|---|---|
| Declutter the space | – | Avoid damage to personal items |
| Shield fixtures | Plastic sheets | Safeguard from dust and debris |
| Assemble the necessary tools | Hammer, chisel, gloves | Enable efficient tile removal |
Use plastic sheets to shield any immovable fixtures from dust and debris. When your bathroom is well-prepared, you’re set to start removing bathroom tiles. Always remember, preparation is the cornerstone of successful execution.
Essential Safety Measures
As a bathroom renovation expert, I can’t stress enough the importance of safety when undertaking a task such as removing bathroom tiles. It’s absolutely vital that you remember to equip yourself with essential protective gear, such as safety goggles and gloves.
The role of safety goggles in this context is to shield your eyes from debris and dust that might fly around during the process. Gloves, on the other hand, are there to keep your hands safe from potential cuts that could be caused by sharp tile pieces or tools.
Going a step further, I highly recommend wearing a long-sleeved shirt and pants as part of your protective attire. This will act as a barrier between your skin and any sharp or irritating materials that you might encounter during the renovation.
Even if the work seems minor, never underestimate the potential risks and always prioritize your safety gear. Unexpected hazards can arise, such as small tile pieces flying off and causing harm. Also, it’s important to have your workspace well-lit and free from any objects that could cause you to trip and fall.
Always remember, your safety should always be the first consideration. After all, your well-being is of the utmost importance.
Necessary Tools and Equipment
Necessary implements and tools include a utility knife for cutting through old grout and a putty knife or chisel for prying up tiles.
You’ll also need a jimmy bar to leverage resistant tiles off the wall. For stubborn grout, a heat gun can be utilized to soften it, simplifying the removal process.
Utility clippers prove to be useful in cutting through any mesh backing or metal lath.
It’s important not just to have these tools, but also to understand their proper usage. I’s recommended to get acquainted with each tool prior to starting your project to ensure efficient tile removal, if you haven’t ever used them before. We all start somewhere.
Procedure of Removing Grout
Once you have the tiles removed, the next step is to remove the old grout that remains. While it may seem intricate, removing grout can be straightforward with a bit of patience and meticulousness.
Here are some guidelines to help you through the process:
- Begin by spotting all the grout lines surrounding the tile you’re planning to extract.
- Employ a grout saw or a multi-tool equipped with a grout removal blade to scrape the grout.
- Be meticulous in clearing all the grout, especially within the corners and edges.
- Continually sweep or vacuum the residual grout to maintain a clean workspace.
- After most of the grout is cleared, utilize a grout rake to remove any lingering bits.
Safety is paramount during this process. Make sure to don eye protection and a dust mask while you’re at work removing grout.
Techniques to Locate Loose Tiles
Identifying loose tiles is a critical step prior to embarking on your tile removal journey. The first thing you should do is delicately tap each bathroom tile. A tile producing a hollow sound may well be loose.
It’s wise to be particularly vigilant around areas where grout has been removed, as these spots frequently harbor the problematic tiles. Once you’ve pinpointed a loose tile, arm yourself with a chisel or putty knife and gently coax it away from the wall. Be mindful not to exert excessive pressure as this could inflict damage to the wall or the tiles nearby.
Please bear in mind, tile removal might require a bit of finesse, but with these tile identification techniques, you’ll be removing tiles effectively and efficiently.
How to Break Tiles Safely
As an experienced bathroom renovation pro, I can’t stress enough the importance of safety when it comes to breaking tiles. The process of removing wall tiles requires not just skill but also consciousness towards safety protocols to prevent any potential injuries.
Here are some key pointers to remember:
- Always target the loose tiles first.
- Employ a chisel and hammer to establish a starting point at the center of the tile.
- With caution, chisel around this point to fragment the tile into smaller pieces.
- Refrain from applying too much pressure on the chisel to avoid slipping that could lead to damage to yourself or the adjacent tiles.
- Make sure to dispose of the shattered tiles right away to maintain a tidy workspace and avert any accidents.
Following these steps will ensure the efficient and safe removal of tiles from your bathroom wall.
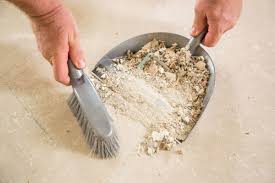
Cleaning up After Tile Removal
Ensuring all tile fragments are collected and disposed of prevents accidental injuries. Sweep up every last piece with a dust pan, leaving no sharp remnants behind.
Then, turn your attention to the leftover adhesive on the floor. Employ a scraper or putty knife to delicately remove this, taking care not to damage your floor surface in the process. Once you’ve accomplished that, utilize a vacuum to eliminate any lingering dust. This step is vital for achieving a perfect finish when you lay new tiles.
For larger areas, this is where a tile removal machine / floor stripper can help.
As a final measure, wipe the entire area down with a damp cloth. It’s crucial to remember that proper cleanup after tile removal is just as important as the removal itself. It safeguards against accidents and sets the stage for the next steps in your bathroom renovation project.
Difficulty Level of Removing Bathroom Tiles
As a bathroom renovation expert, I can share that the process of removing bathroom tiles can be managed efficiently with patience and the correct tools, despite the level of difficulty seeming variable at first. Factors such as the size and type of tiles, the specific adhesive utilized, and the status of surrounding tiles can influence the complexity of the project.
When it comes to tile replacement, meticulous handling of the grout removal is important. This typically involves a series of steps:
- Utilizing a grout saw or rotary tool to loosen the grout encircling the tiles
- Being cautious while extracting tiles to prevent any damage to the adjacent ones
- Ensuring the area is clean and ready to accept new tiles. See our article on choosing new tiles.
- Proper application of new grout and tiles
- Adequately sealing the grout
Keep in mind, the objective extends beyond merely removing wall tiles. It also involves effectively prepping the surface to receive the new tiles.
Prioritizing safety is key in this task, so make sure you’re properly equipped with safety gear before you begin!
Removing Wall Tiles
First, make sure your bathroom is as empty as possible to prevent any accidental damage. To protect your shower tray from falling debris, consider using a drop cloth or old towel.
Now, let’s proceed to the actual tile removal process:
- Start by employing a grout remover tool to scrape off the grout that surrounds your wall tiles.
- Gradually work your way under a tile starting from its edges with a chisel, gently tapping with a mallet to loosen it.
- When removing the tile, take extra care to avoid causing any damage to the wall behind it.
- Use a putty knife to get rid of any lingering adhesive.
- Continue with the same process for each tile until your wall is completely tile-free.
Bear in mind, the process of removing wall tiles can be quite time-consuming, so patience is key here. Be methodical and careful, and you’ll achieve the best results.
Handling Adhesive and Leftovers
Dealing with adhesive and debris after tile removal is an important step in any bathroom renovation project. Post tile removal, it’s common to find residual adhesive and debris that you’ll need to tackle with precision. Commence with the spot where you’d the first tile removed, make use of a chisel or a scraper to eliminate the adhesive. Be meticulous in your efforts to ensure that no residue is left behind, as this could potentially disrupt the adhesion for the new tiles.
There might be some stubborn patches that could be challenging to remove. In such cases, you could try dampening the patch before gently scraping it off. When dealing with a single tile, it’s important to meticulously remove adhesive from its back if you plan on reusing it.
As for the tile debris, make sure to dispose of it in an environmentally friendly manner. Take note that each tile, regardless of its size, contributes to the overall aesthetics of your bathroom, hence it’s essential to handle each one with utmost care.
Key Points to Remember
As a bathroom renovation expert, I often stress the importance of adhering to safety measures and proper cleanup procedures during the removal of bathroom tiles. Not only does this help to prevent injuries and damage, but it also paves the way for the successful installation of new tiles.
Here are some key points that I always advise my clients to keep in mind:
- Safety gear is a must. Wearing it can protect you from injuries that could occur due to falling tiles or sharp tools.
- Be gentle when removing tiles. Aim to remove one tile at a time to avoid causing damage to the entire wall or the tiles nearby.
- Be mindful of spacer lugs. You should be able to see them once the grout and tile have been removed. Make sure to remove these lugs completely to create an even surface.
- Once all the tiles have been removed, take the time to clean the wall surface thoroughly. Any residual adhesive should be removed to ensure that the new tiles bond properly.
- Consider how you’ll dispose of the removed tiles. They can be quite heavy and sharp, which makes them a potential safety hazard.
Always remember that careful preparation and patience are your most valuable tools when it comes to bathroom renovations.
Protecting the Rest of Your Bathroom
Protecting the rest of your bathroom during a revamp is also a consideration. It goes without saying you will not want to damage any fixtures or other items. A simple yet effective step is to use protective coverings for fixtures and surfaces.
Here are some effective protective measures for you to consider:
- Shield your bathtub, sinks, and toilet by using sheets or tarps.
- Affix plastic sheeting on the wall, just beneath the line where you plan to remove the next set of tiles.
- Use a thick and sturdy drop cloth to cover the floor.
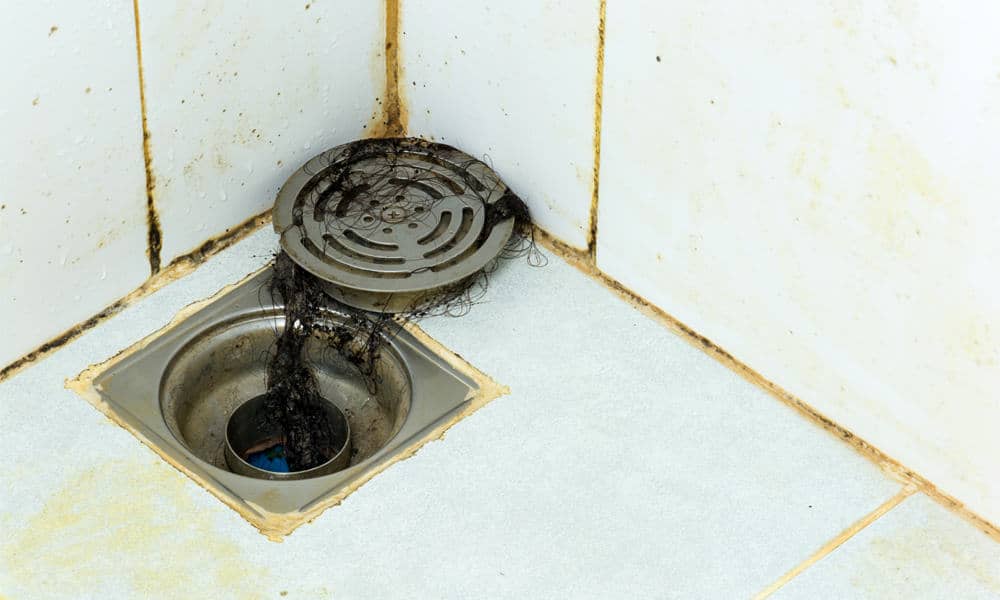
- Ensure any drains are well sealed to keep debris from causing blockages.
- Keeping a vacuum at hand to swiftly clean up dust and debris can be beneficial.
It’s important to remember that safeguarding your bathroom goes beyond mere convenience—it’s a vital step to uphold the integrity of your space.
Final Notes
Congratulations, you have successfully learned how to remove bathroom tiles like an expert. Always prioritize safety and remember that patience is a key factor in this process. It might appear challenging, but you’re definitely equipped to handle it.
You’re now prepared to get your wall ready for new tiles and turn your bathroom into the dream space you’ve always wanted.
As always, if you’d like a consult or have one of our experts discuss your project, please give us a call.
Also see our article on choosing bathroom tiles.